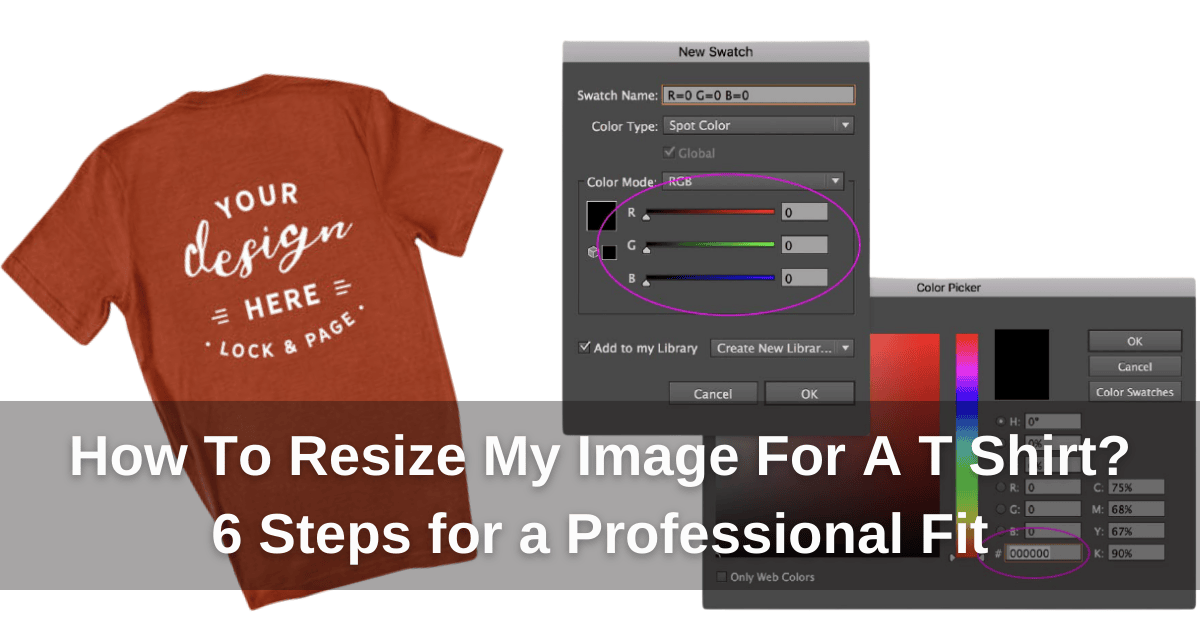
How to resize my image for a T shirt? Our easy guide will walk you through the process, making sure your design fits perfectly and looks awesome on your custom shirt!
How To Resize My Image For A T Shirt? Design Like a Pro Today!
If you’re wondering, “How to resize my image for a T shirt?“, we totally get it! It can be super frustrating when your design doesn’t fit quite right on the shirt. Maybe it’s too big or too small, and it throws off the whole look. In this article, we’ll walk you through each step to get your image resized just right. Keep reading, and you’ll be ready to rock that custom shirt in no time!
How To Resize My Image For A T-Shirt? 6 Steps for Amazing T-Shirt Creations
Excited to bring your artwork to life on a custom t-shirt? Follow these 6 simple steps to resize your image perfectly, and you’ll be rocking an amazing design that’s print-ready in no time! Let’s get started!
Step 1: Determine the Ideal Size for the Design
Consider where you wish the artwork to be positioned while determining the ideal t-shirt design size. The most popular spots are the front, back, and inside tag areas. Here’s a quick guide:
- Full Front: A great size is usually 11” x 11”, but you can go up to 11.5” x 14” if you want something bigger
- Left Chest: Keep it simple with 4.5” x 4.5”
- Youth Sizes: For kids, go with 9” x 9” to 10.5” depending on the size
- Back Prints: For upper back prints, it’s common to keep the design around 3” in width
- Tag Prints: Tag prints usually measure 2.5” to 3” wide
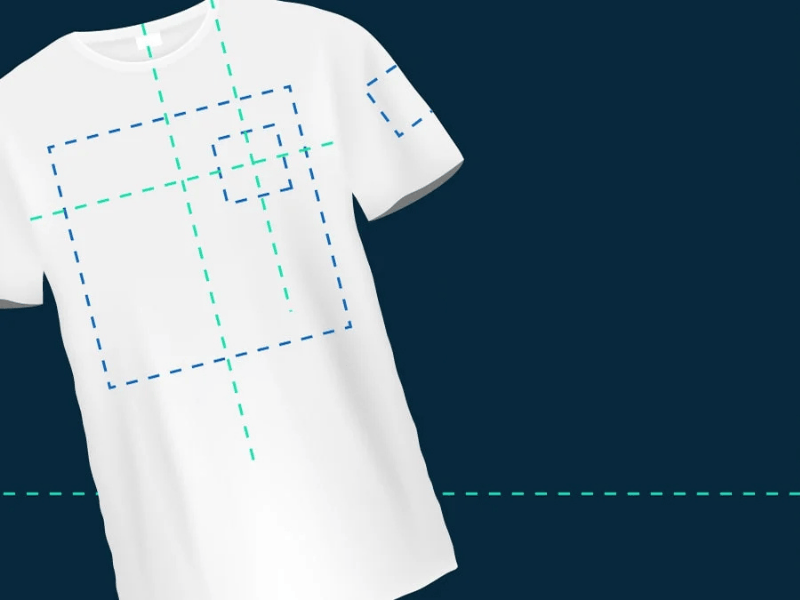
How to determine the perfect size for your t-shirt design before printing
Step 2: Choose the Right Resize Tools & Resize The Image
In Photoshop:
Alright, let’s start with resizing your Photoshop picture! We can do this carefully as follows:
- Open the Image: To access your image, first open Photoshop then head to File > Open.
- Access Image Size Settings: Next, click on Image in the top menu, then select Image Size. A little box will pop up with the options to change the size.
- Change the dimensions: That box will show fields for width and height. Choose the size you wish or scale it using the percentage option.
- Change Unit (Optional): Just choose from the dropdown next to Width and Height if you would want a different unit – such as inches or centimeters.
And boom! You’re ready to go!
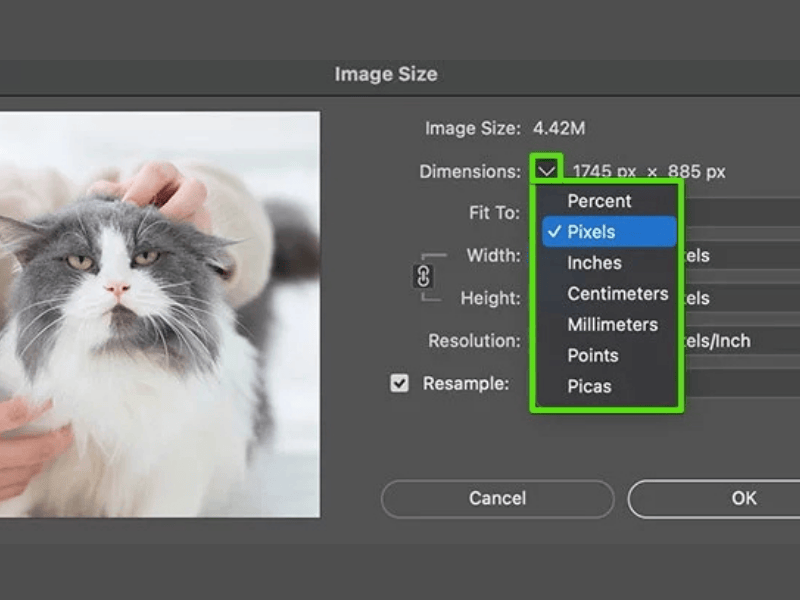
Discover the right tools and steps to resize your image for a perfect fit on your t-shirt
In GIMP:
If you’re using GIMP to resize your image for a t-shirt design, don’t worry—it’s pretty simple! Here’s how we can do it step by step:
- Open Your Image: First, open GIMP and load your design by going to File > Open and selecting your image.
- Access the Scale Image Tool: Click Image on the top menu now, then choose Scale Image. This brings the resizing choices.
- Adjust Image Size: The Scale Image box shows Height and Width. These are flexible; if you wish to change units – from pixels to inches – just utilize the dropdown menu.
- Set the Resolution and Interpolation: To get the best print clarity, make sure the resolution is set to 300 PPI. Then, pick an interpolation method. Cubic gives you smooth, sharp details, while Sinc (Lanczos3) gives you the clearest picture.
- Resize: Once you’re happy with everything, just click Scale to apply the changes!
Now you’re all set to get that design looking perfect on your t-shirt!
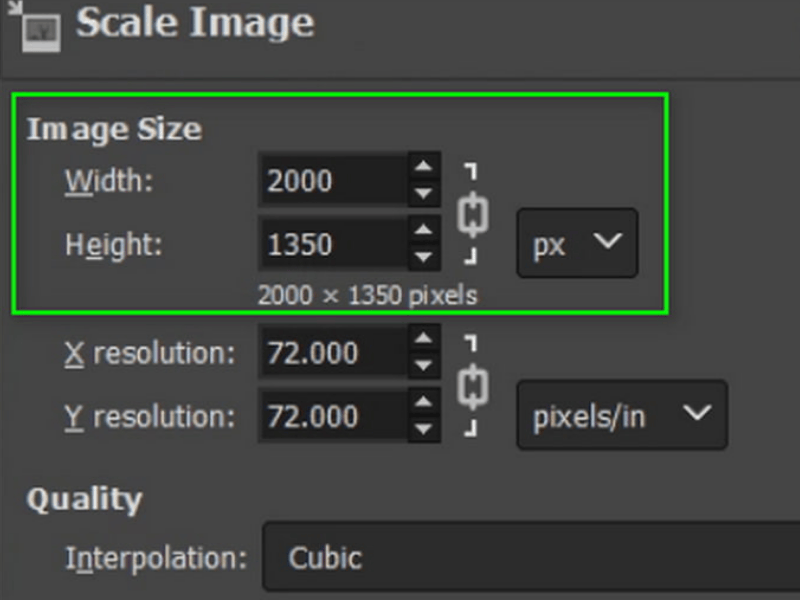
Resize your design in the GIMP tool
Step 3. Check the Resolution
Okay, the size of your picture has been changed. Now is the time to make sure the quality is great! Pixels per inch (PPI) should be at least 300 if you want a good, clear picture. No pixels or blur here! This makes sure that your picture on the t-shirt is sharp and clear.
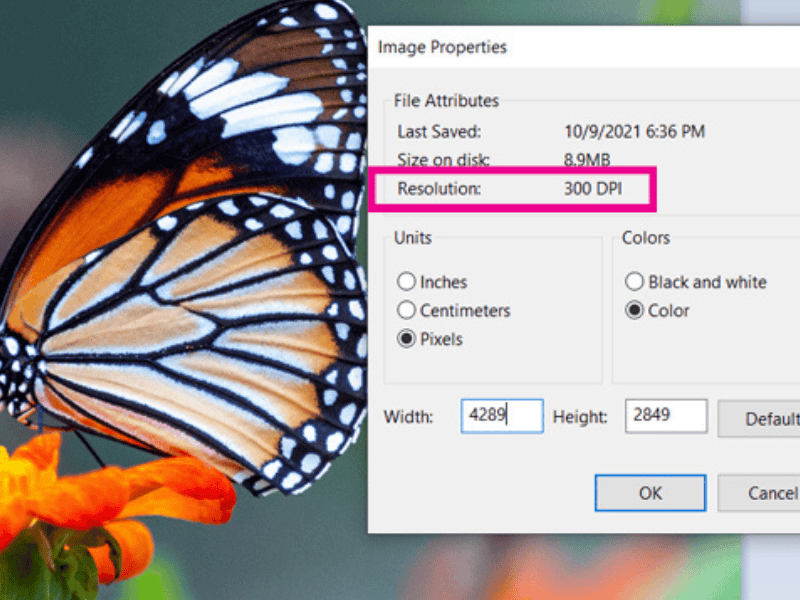
Check and change your picture resolution to get a beautiful, high-quality print on your shirt
Step 4. Export the Image
Great news! Your design is all resized and looks fantastic. Now, let’s get it exported! Select a premium file format like PNG or TIFF. These formats preserve image details and support transparent backgrounds, which is essential for t-shirt printing! Avoiding JPEG is advisable when possible, as it tends to compress images and diminish their quality.
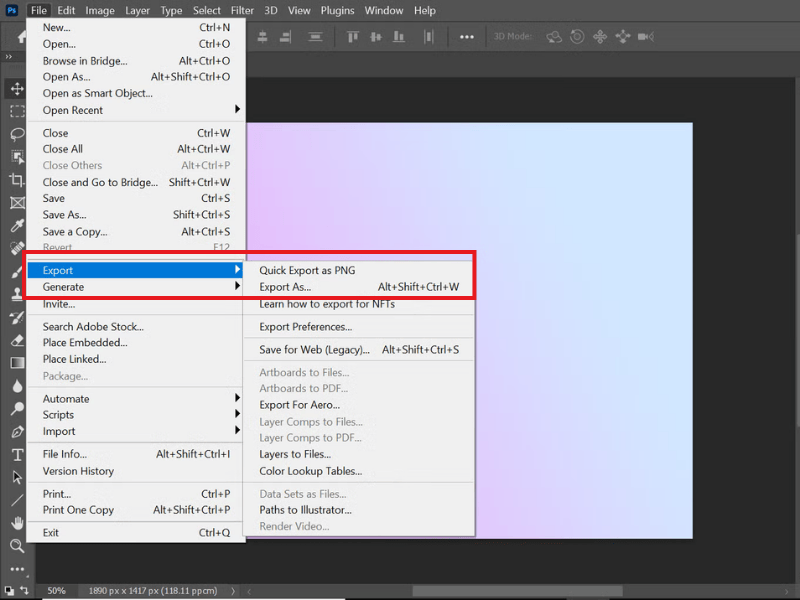
Export your image in the right format so your design is all set for t-shirts!
Step 5. Test Your Design & and Place Your Order
Canva, Adobe Express, and Printify are such great tools for checking out our designs before printing! We can easily see how our design looks on different clothes like tank tops, hoodies, or long-sleeve shirts. Seriously, mockups are super useful! They give us a sneak peek of the final product, so we can sort out any issues before we hit print.
So, how to put an image on a t-shirt online properly? Read our guide to make your process easier and quicker! Once everything’s looking good, we can just go ahead and place the order.
Now, it’s super easy to visit Yes T Shirt! Just send us your resized image, and we can chat about how you want your high-quality t-shirt to look. We’ll help turn your idea into the perfect shirt just for you!
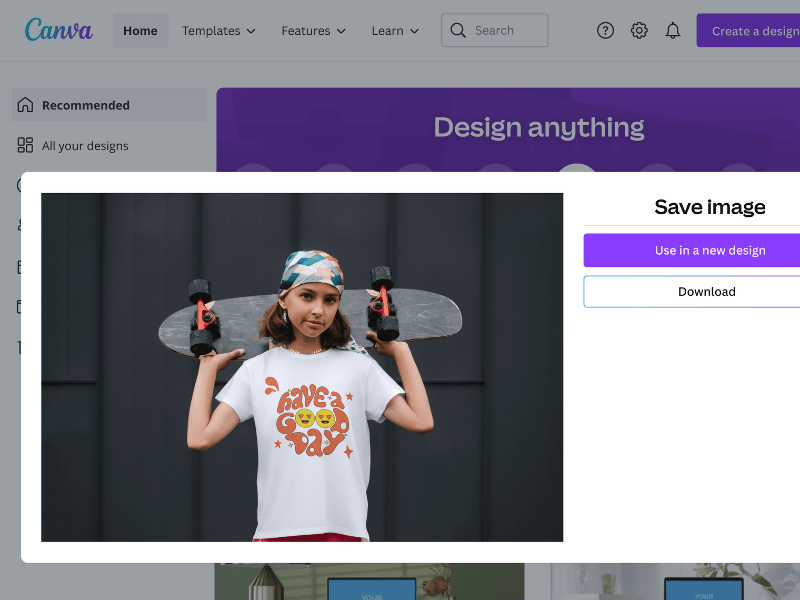
Test your design on a mock-up and place your order for the perfect t-shirt print
4 Pro Tips for Crafting the Perfect T-Shirt Design
1. Opt for Vector Images for Seamless Resizing
When scaling t-shirt designs, utilize vector images! Vectors are crisp regardless of size, unlike conventional pictures, which blur when resized. This is crucial for large logos or patterns that cover the shirt’s front. Vector art is usually professional and sharp.
2. Ensure Proper Color Contrast
Make sure that the colors in your pattern contrast nicely with the color of the shirt. It’s critical that your artwork pops out and is easy to notice. Dark designs look great on lighter shirts, while bright patterns look great on dark ones. If you use the right contrast, your design will stand out and look clear and strong.
3. Include Bleed Zones for Full-Edge Designs
If you want to print from edge to edge, make sure you add bleed areas to your design file. Your image will go all the way to the edge of the shirt with this extra space, leaving no empty space around it. It makes your T-shirt look smooth and clean.
4. Preview Your Design on a Mockup Before Printing
Before printing, let’s take a moment to check out our design on a digital mockup. We can look at the size, where it’s positioned, and how it fits on different shirts, like tank tops or long-sleeve ones. The final result is clearly visible in the mockups, allowing you to identify any issues before printing!
And if you’re feeling creative and want to design and make a t-shirt at home, we have a thorough guide right here. It’s quite easy and you could completely do it on your own without any trouble! We are here to help you to make it all happen!
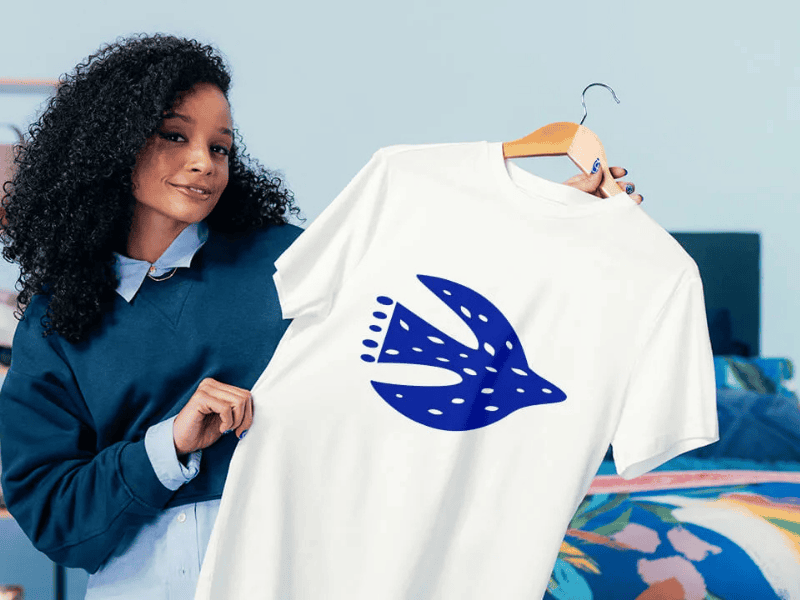
Discover 4 pro tips that will take your t-shirt design from good to amazing
5 Common Mistakes to Avoid When Resizing My Image For A T Shirt
1. Stretching or Distorting the Image
- Mistake: Oops! If you resize your image without maintaining the aspect ratio, it might end up looking stretched or squished!
- Tip: A great tip is to use tools that lock the aspect ratio. This way, your design will stay sharp and true to the original. Happy designing! This will help you achieve a great look for your shirt!
2. Using Low-Resolution Images
- Mistake: Using low-resolution photos (less than 300 DPI) can result in pixelated, fuzzy printouts.
- Tip: Always use high-quality photos (at least 300 DPI)! This will ensure that your photographs are clear and sharp.
3. Not Checking the Print Area on the T-shirt Template
- Mistake: Your drawing could be too big or too small if you don’t check where it will go on the shirt.
- Tip: Double-check the print area on your template, especially for varied shirt sizes. This way, you can make sure your design fits just wherever you want it!
4. Ignoring Color Mode
- Mistake: Using RGB instead of CMYK for your colors can make them look all wrong when printed.
- Tip: Switch your design to CMYK! It’s the color mode most printers use, and it’ll give you more accurate results.
5. Overcomplicating the Design
- Mistake: Too many details or tiny text can cause issues when you resize.
- Tip: Keep it simple! Bold shapes and clear text make your design pop and stay readable, no matter the size!

5 common resizing mistakes and how to sidestep them for a perfect t-shirt creation
FAQs
1. Can I resize an image without using special software?
Yes, you can! No need to spend big bucks on expensive programs. You may completely resize images with online free tools such as Pixlr, Canva, and GIMP. Simply upload your image, modify its size, and you’re ready to go! Your image will be perfectly scaled with no hassle.
2. What Is The Best Image Format For T-shirts?
If you’re printing t-shirts, vector files are definitely the way to go! They’re super precise and can be resized without losing any quality. Unlike raster files that rely on pixels, vector files are based on math, making them perfect for designs of all sizes.
3. How To Optimize Any Photo For High Quality T-Shirt Printing?
First things first – make sure your photo is high-quality! Aim for at least 300 dpi or higher. And if you want to keep it simple, go for solid colors. These are perfect for screen printing and will look fantastic on your shirt.
Bottom Line
Now that you know how to resize my image for a T shirt, you’re all set to create your own awesome t-shirt design. It’s extremely straightforward, and if you follow these steps, your design will fit exactly perfectly. We hope this guide helps, and we can’t wait to see you rock your impressive new tee!

