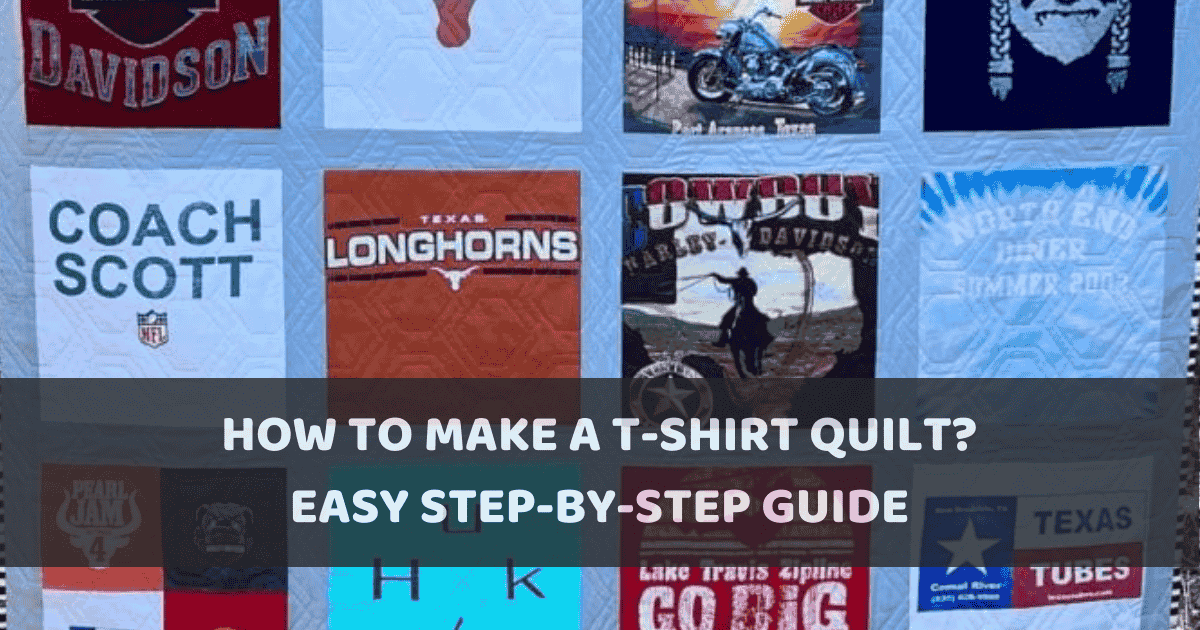
Got a stack of old T-shirts that you just can’t get rid of? Why not turn them into something practical and sentimental—a T-shirt quilt! This tutorial will walk you through the entire process, step-by-step of how to make a T-shirt quilt by yourself! So, even if you’re new to sewing, you can still create a cozy keepsake filled with memories. Let’s get started!
How to Make a T-Shirt Quilt? Step-by-step Tutorial
Yes, I know. There are a lot of steps. But believe me, making a t-shirt blanket is actually easier than you think! Follow these detailed steps to turn your favorite t-shirt into a one-of-a-kind keepsake.
Step 1: Gather Tools and Materials
Every great project starts with preparation. Having the right tools and materials ready will make the process smooth and enjoyable.
- T-Shirts: Choose 12–30 shirts, depending on your desired quilt size.
- Fusible Interfacing: Stabilizes stretchy T-shirt fabric.
- Rotary Cutter, Cutting Mat, and Ruler: For precise cutting.
- Sewing Machine: Essential for assembling the quilt.
- Thread: Match the color to your T-shirt fabrics.
- Batting: Adds softness and insulation.
- Backing Fabric: The material for the quilt’s underside, such as cotton or fleece.
- Binding Material: To finish the quilt’s edges.
- Iron and Ironing Board: For pressing interfacing and seams.
- Pins or Quilt Clips: To hold layers together.
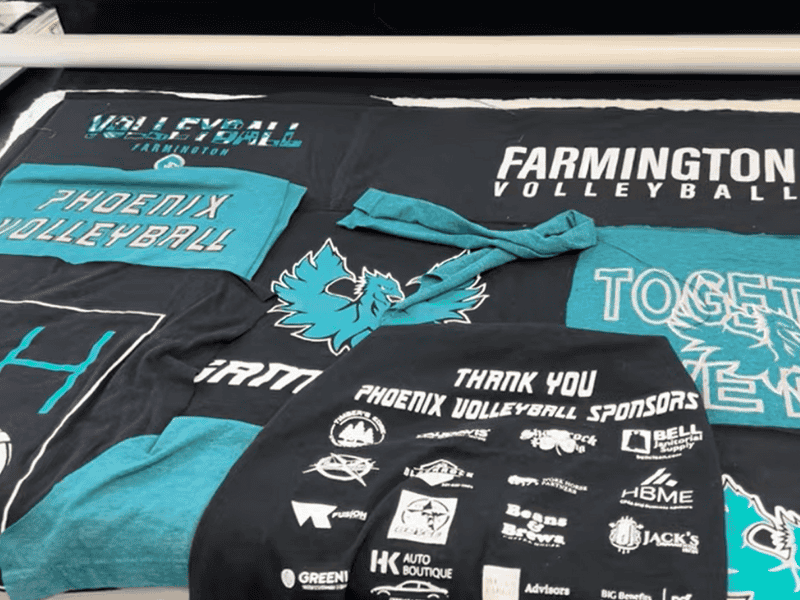
You should prepare a lot of T-shirts in advance
Step 2: Prepare the T-Shirts
The key to a neat and sturdy quilt is properly prepping your T-shirts. This step ensures they are clean, stable, and cut to size.
- Wash and Dry: Pre-wash all T-shirts to remove dirt and prevent shrinking.
- Cut Out the Designs: Use scissors to roughly cut around the design or logo on each shirt, leaving extra fabric for trimming later.
- Apply Fusible Interfacing:
- Cut interfacing slightly larger than your T-shirt design.
- Place the rough side of the interfacing against the back of the T-shirt fabric.
- Use an iron on medium heat to fuse the interfacing, following the product instructions.
- Trim Squares: Use a rotary cutter, mat, and ruler to cut perfectly even squares or rectangles. Common sizes are 12”x12” or 15”x15”.
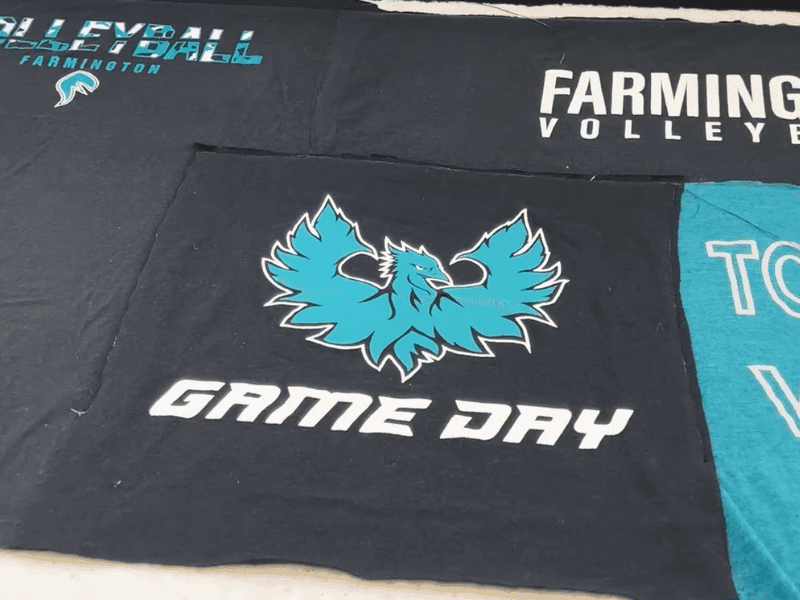
The most common size is 12”x12”
Step 3: Plan the Quilt Design
A well-thought-out layout makes your quilt visually appealing. Spend time arranging your T-shirt squares before sewing.
- Arrange the Squares: Lay out your T-shirt pieces on a flat surface or bed.
- Balance Colors and Designs: Distribute colors and logos evenly to avoid clumping similar patterns.
- Decide on Borders (Optional): Add sashing (fabric strips) between T-shirt squares for a polished look.
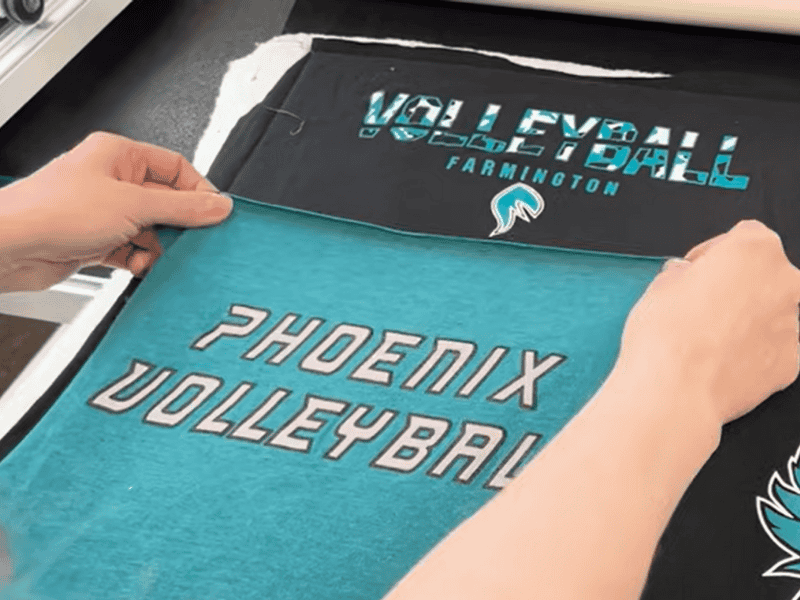
The T-shirts should be laid on a flat surface
Read more: How To Design T Shirts: Guide And Tips For You
Step 4: Sew the Quilt Top
The quilt top is the main feature of your quilt, showcasing all your favorite T-shirts. Take your time to sew it neatly.
- Assemble Rows: Sew T-shirt squares together row by row using a ¼-inch seam allowance.
- Press the Seams: Iron seams flat to ensure a smooth and professional finish.
- Join the Rows: Sew the rows together, checking alignment as you go.
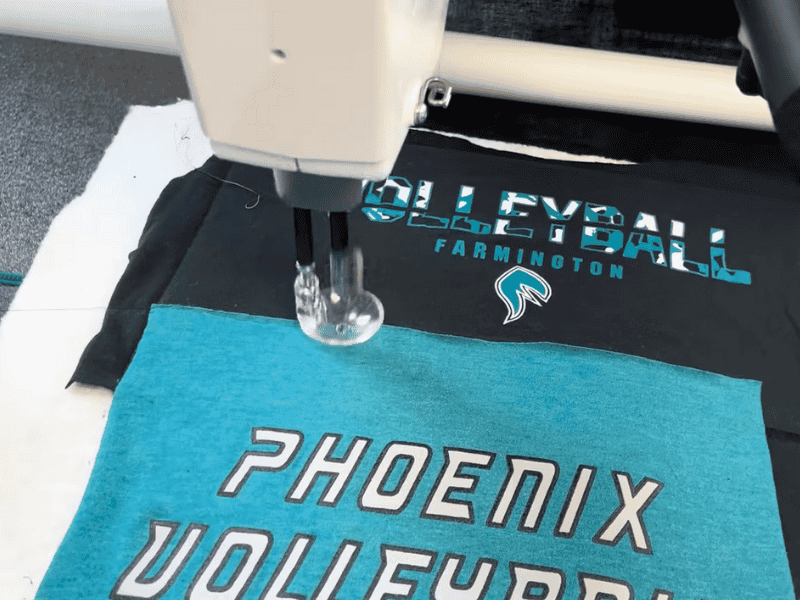
Start sewing the quilt top
Step 5: Make the Quilt Sandwich
The quilt sandwich combines the quilt top, batting, and backing into a single piece. Layering properly keeps it durable and comfortable.
- Layer the Pieces:
- Lay the backing fabric right side down.
- Place the batting on top.
- Position the quilt top right side up, aligning all layers.
- Secure the Layers: Use safety pins, quilt clips, or adhesive spray to hold the layers in place.
Step 6: Quilt the Layers Together
Quilting secures the layers and adds texture to your finished piece. Not everyone has a quilting machine and knows how to use it. And if you don’t, that’s okay, just hand quilt. You should choose a method that suits your skill level and style.
- Choose a Quilting Method:
- Machine Quilting: Straight lines or free-motion designs.
- Hand Tying: Use embroidery floss to tie knots at regular intervals.
- Start Quilting: Begin in the center and work outward to avoid shifting or wrinkles.
Step 7: Bind the Quilt
Why is this part important? Because binding gives your quilt a clean, finished edge and ensures it lasts for years.
- Prepare the Binding: Cut fabric strips (2.5” wide) and sew them together to create one long piece.
- Attach the Binding: Sew it to the quilt’s front, fold it over the edge, and hand-stitch it to the back for a polished look.
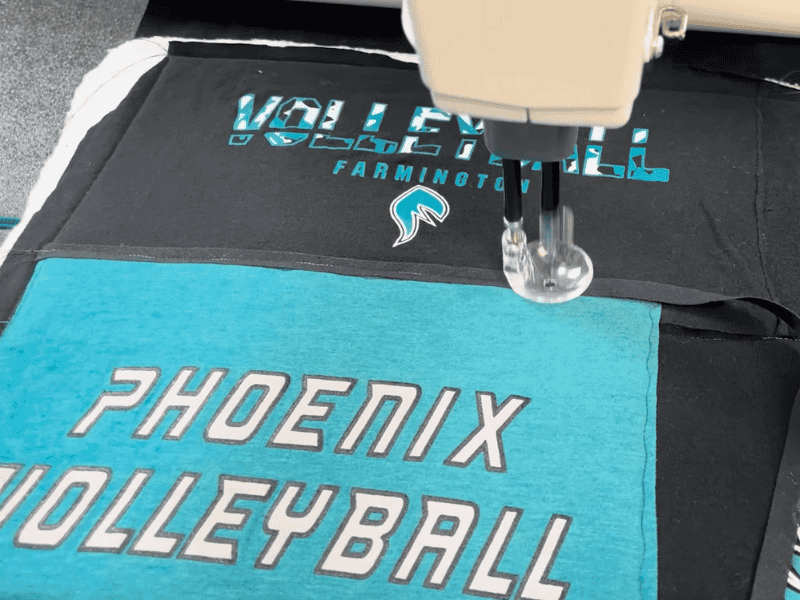
Bind the quilt
Read more: How to Cut a T-Shirt: 5 Five-minute DIY Styles to Try
Step 8: Finish
The final touches will tie it all together. After you’ve spent some time cleaning up the mess, take a few minutes to admire your work.
- Trim the Excess Fabric: Cut off any excess cotton or lining.
- Press the Quilt: Use an iron for a neat, professional look.
Your t-shirt quilt is now ready to keep you warm and cozy!
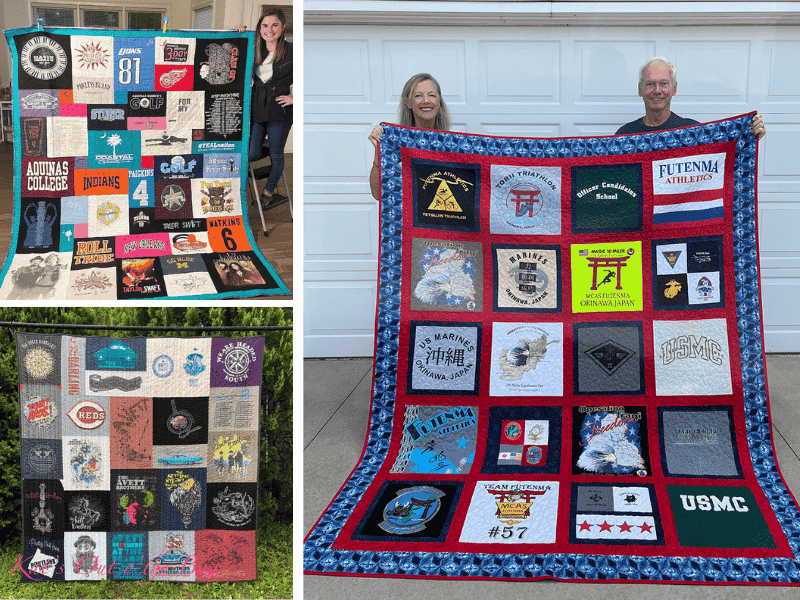
Your final result should end up like this!
Read more: How To Make T shirts At Home
5 Common Mistakes to Avoid When Making A T-Shirt Quilt
Making mistakes is normal, everyone makes mistakes, especially when they are first starting out. However, some basic mistakes can cost you a lot of time and effort. So to save time and make a beautiful quilt from the start, here are 5 common mistakes to avoid.
1. Skipping Interfacing
Everyone knows T-shirt fabric is stretchy and can warp easily, making it difficult to sew evenly or maintain a clean shape.
- How to avoid it: Always apply fusible interfacing to the back of your T-shirt squares, which stabilizes the fabric and prevents distortion during sewing. It’s best to choose a lightweight, iron-on interfacing for the best results.
2. Cutting Uneven Squares
Uneven squares make it hard to align seams, leading to a quilt that looks messy or uneven.
- How to avoid it: Get into 3 steps: First, use a rotary cutter, ruler, and cutting mat for precision. Second, measure twice and cut once to ensure every square is the same size. And finally, mark cutting lines with chalk or fabric-safe markers for accuracy.
3. Using Worn-Out T-Shirts Without Reinforcement
Thin or overused T-shirts may tear or fray during sewing or quilting, compromising the quilt’s durability.
- How to avoid it: It’s easy, just reinforce worn or delicate T-shirts by doubling the interfacing or sewing them onto a sturdier piece of fabric before cutting them to size.
4. Skipping the Basting Step
Without basting, the quilt’s layers can shift or bunch during quilting, leading to wrinkles or uneven stitching.
- How to avoid it: Secure the quilt sandwich by pinning it with safety pins, using quilt clips, or applying a temporary fabric adhesive. Start basting at the center and work outward to ensure the layers stay aligned.
5. Choosing the Wrong Backing Material
A backing material that is too thick, too thin, or too slippery can make the quilt bulky, uncomfortable, or hard to sew.
- How to avoid it: Choose a soft, lightweight fabric like cotton or fleece for the backing. Pre-wash the fabric to prevent shrinking and ensure it pairs well with the quilt top.
FAQs
1. Is it okay if I include shirts with small designs or logos in my quilt?
Absolutely! For shirts with small designs, consider combining multiple small designs into one quilt square or adding decorative sashing around them to enhance their presence.
2. How do I decide the size of my quilt?
The size of your quilt depends on how many T-shirts you want to include and their design sizes. For example, a throw-size quilt may require around 12–16 shirts, while a larger bedspread can take 30 or more.
3. How long does it usually take to make a T-shirt quilt?
The time required depends on your experience and the quilt size. For beginners, it may take 20–30 hours spread over several days or weeks, as tasks like cutting and interfacing take more time. Experienced quilters can complete a smaller quilt in about 10–15 hours. Larger or more intricate designs might require additional time.
4. What should I do if some T-shirts are heavily stained or damaged?
You can work around stains or damage by cutting out the usable parts of the design or incorporating decorative elements like patches, embroidery, or appliqué to cover imperfections.
5. How do I store my T-shirt quilt to keep it in good condition?
Store your quilt in a cool, dry place, preferably folded in a breathable cotton bag or wrapped in acid-free tissue paper. Avoid using plastic storage bags, as they can trap moisture and cause mold or mildew.
Final Word
How to make a T-Shirt quilt? It is neither simple nor quick. You might spend an entire week if you dedicate 3–4 hours a day to it. However, with our detailed steps and tips, you’ll complete it like a pro and cut the completion time in half. We would be happy to see your finished creation!

