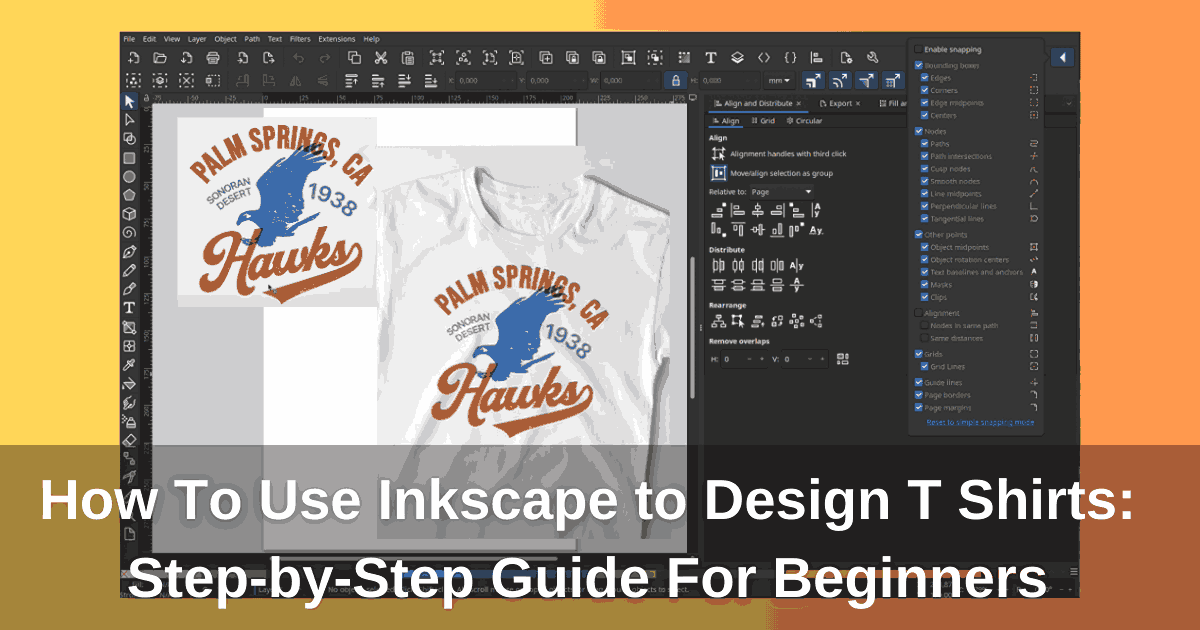
Are you wondering how to use inkscape to design t shirt? Yes T-Shirt is here to make it happen! We’re going to break down Inkscape and show you the basics step-by-step so that you will be amazed at what you can design with just a few simple tricks.
Get To Know With Inkscape to Design T-Shirts
When opening Inkscape, you will see the welcome screen. You can set these on the Quick Setup tab:
- Canvas background: Light or dark mode, transparency (Light or Dark checkerboard), solid white.
- Select your preferred keyboard shortcuts
- Adjust the interface appearance (including dark themes if you prefer)
To start a new project, click on “Time to Draw” and select a template size that fits your needs. This opens the main Inkscape workspace.
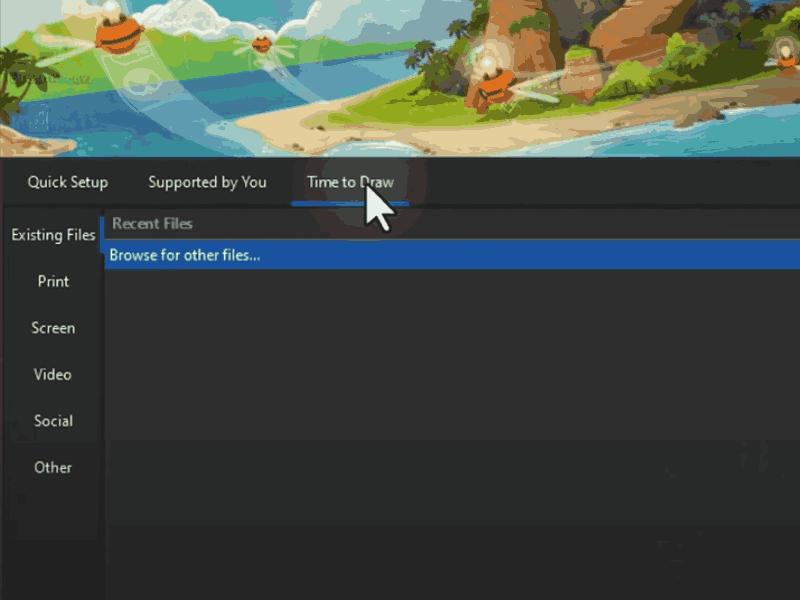
You need to select a template size that fits your needs (Source: Skills Factory)
Now, after you have started designing, you will see a few key areas
- Center area: Your canvas/drawing area
- Left side: Toolbox with all drawing tools
- Top: Tool controls bar that changes based on your selected tool
- Right side: Various panels for advanced controls
- Bottom: Color palette and status bar.
Pro tip: If your workspace feels cluttered, go to View → Show/Hide to toggle different interface elements on or off.
When it comes to designing t-shirts, you will hear about both Inkscape and Photoshop, but they have different tools.
- Photoshop is primarily a raster graphics editor, which means it works with images made of pixels – think of it as a digital photograph. But raster images for t-shirt design can lose quality and become blurry when you scale them up for different sizes or print resolutions.
- Inkscape, on the other hand, is a vector graphics editor. This means they are infinitely scalable without any loss of quality, making them perfect for designs that need to be resized for different t-shirt sizes or printed at high resolutions.
Inkscape ensures your design stays crisp and clean, no matter the size or printing process. Furthermore, Inkscape is free and open-source while still providing professional-level vector design capabilities, which is ideal for designing t-shirts.
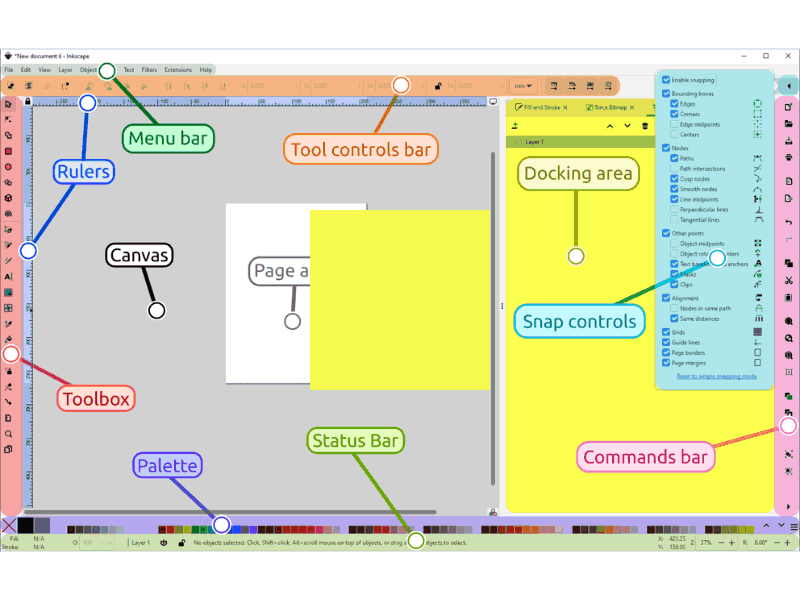
These key areas appeared on the Inkscape workspace (Source: inkscape-manuals.readthedocs.io/)
How To Use InkScape To Design T Shirt: Step-by-Step Tutorial
Step 1. Creating a T-Shirt Template
Before diving into the design work, take some time to gather inspiration by creating a mood board with reference images saved in a dedicated folder. Once you have a clear vision, sketch out your concept either on paper or using a digital drawing tool – this will make your workflow easier.
Then, we will open a new document by clicking File > New, then adjusting the canvas size to 4500 × 5400 pixels (works perfectly for standard t-shirt printing).
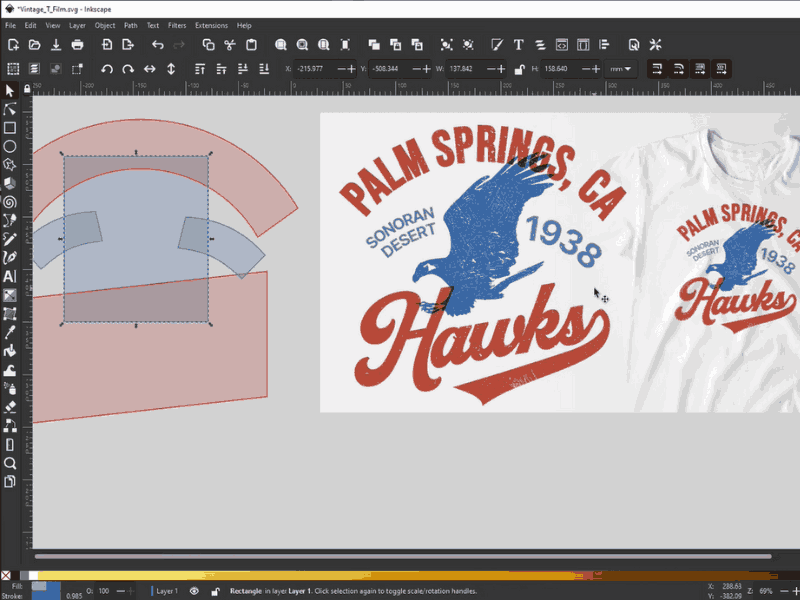
You can use this as a base for your structure.
Step 2. Importing and Preparing Artwork
To get started with your design, import your sketch or reference image by going to File > Import. If you’re working with bitmap images and want to convert them to vectors, select your image, then go to Path > Trace Bitmap. From there, adjust the trace settings however you like.
Once you click “OK,” you can delete the original picture. If you need to make adjustments, double-click on your bitmap image to see all the nodes, click and drag parts you don’t want to keep, and delete. You can also adjust the color of your bitmap; feel free to use your creativity.
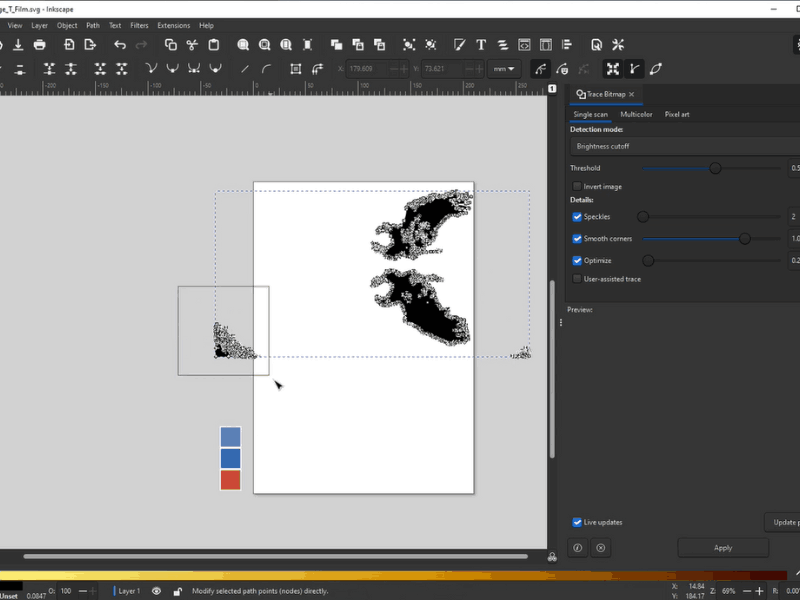
Now your bitmap image will look like this.
Step 3. Add Text To Your Design
Let’s get some text onto your Inkscape canvas. Grab the Text tool (T), click where you want the text to go, and type away. You can use the Text and Font panel to style however you like.
And for those eye-catching curved text effects? Draw a path with the Pen tool, select both the path and your text, and use Text > Put on Path. Your text will curve along that line.
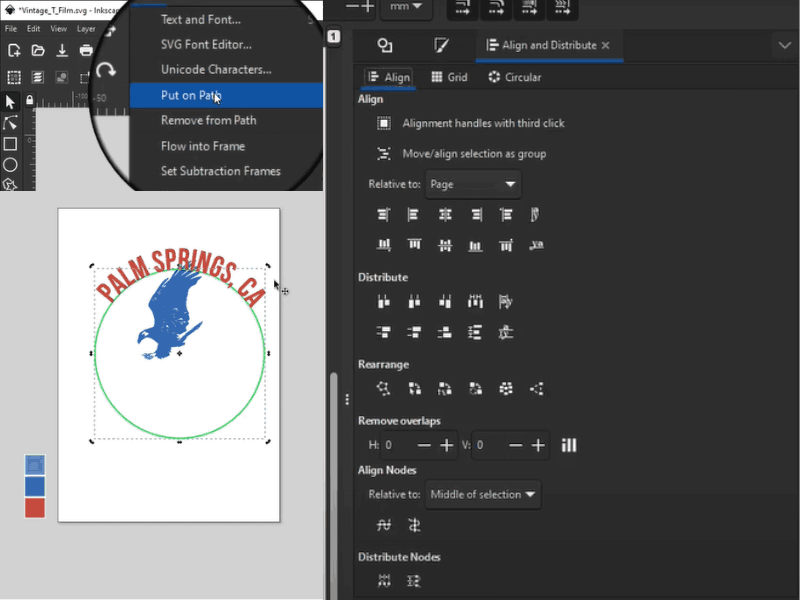
When you go to Object > Align and Distribute, you can adjust your text alignment (Source: IronEcho Design)
Step 4. Adding Color and Effects
Want to change how your objects look in Inkscape? First, grab the Selection tool and click on what you want to style. Then, hit Shift+Ctrl+F to open the Fill and Stroke panel. You can pick your fill color by clicking on the color swatches or typing in the exact RGB or HSL values.
To add a gradient, still in Fill and Stroke, click on Fill and choose either Linear or Radial. Use the Gradient tool (G) to drag the handles and tweak the color blend. For some extra texture, select your object, go to Filters > Textures, and choose an effect. That will give your design some nice depth.
Step 5. Organizing Your Design
Start by opening the Layers panel (Layer > Layers). You can create new layers for different elements of your artwork by going to Layer > Add Layer. Make it easy to find what you’re looking for by double-clicking layer names and giving them descriptive titles.
When you have a lot of objects, group related ones together using Object > Group. To get everything perfectly aligned, use the Align and Distribute panel (Object > Align and Distribute). And if objects are overlapping, use Page Up and Page Down to control their stacking order, bringing them forward or sending them back.
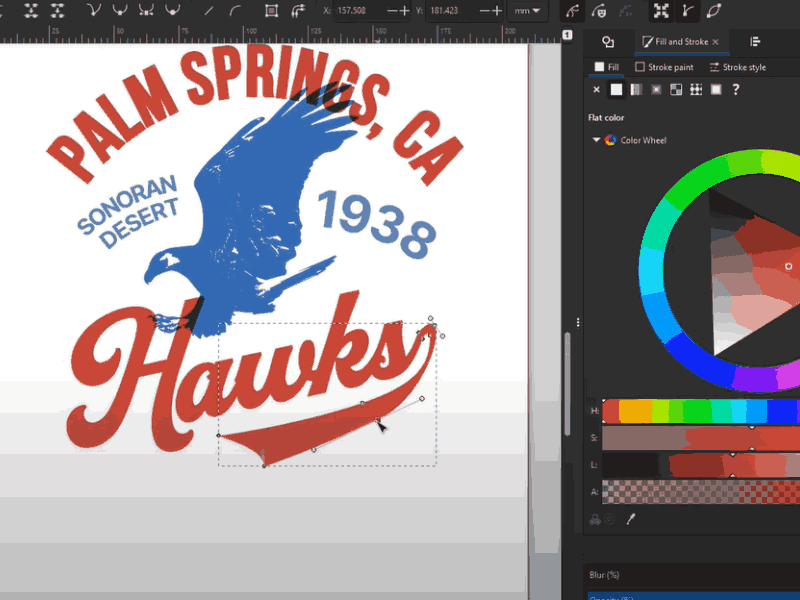
You can make further adjustments to add more designs to your t shirt
Step 6. Finalizing Your Design
To prepare your final design, start by hiding the t-shirt template layer so it doesn’t interfere with your export. Then, select all your design elements and center them perfectly on the page using Object > Align and Distribute > Center on page.
Before finalizing, check how your design looks at actual size by going to View > Zoom > 1:1, and make sure all text is converted to paths using Path > Object to Path to prevent any font issues during printing.
Before you print, double-check your colors; some printing methods have color limitations. Then, save your work as an SVG file (File > Save As> SVG format). This keeps your design scalable and perfect for printing.
Step 7. Exporting for Production
When your work is complete:
For Future Editing
- File → Save As
- Choose Inkscape SVG or Plain SVG format
Exporting For Other Use
- Go to File → Export
- Select what to export:
- Entire document
- Current page
- Selected objects only
- Custom region
- Choose your file format:
- SVG for web use
- PNG for transparency support
- PDF for printing
Tip: When exporting as PNG, the background is rendered according to your document properties settings.
Tips For Printing Method After Design Your T Shirt
- Whether you’re using screen printing, DTG, or vinyl, each has specific requirements. Knowing these will help you avoid design issues. So, before you start, consider how your design will be printed.
- Remember to consider how your design will look on different t-shirt colors. Keep the color count low because you will pay for each color that is set up separately, so it increases the margin for error and the turnaround time.
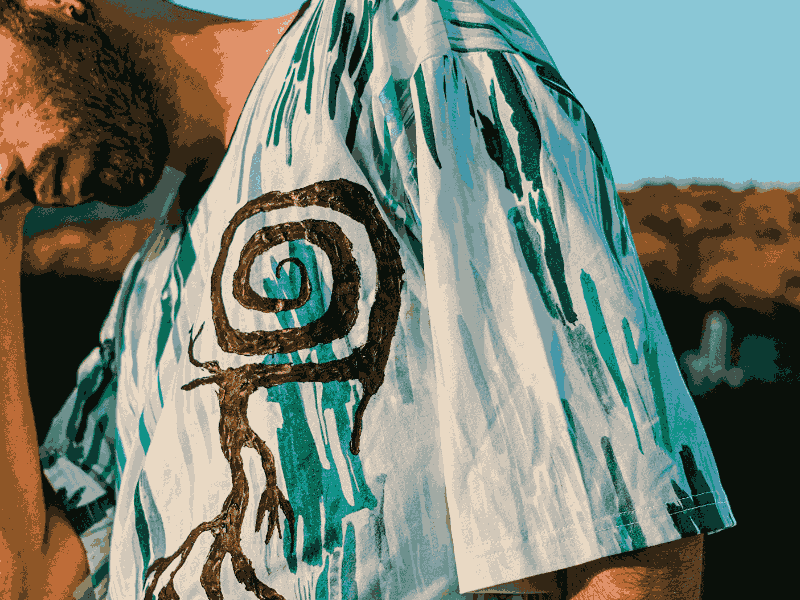
What works on white might need adjustments for dark fabrics.
- Draw a range of line widths and print to see which ones come out. Then you know your minimum pt line width size for your particular setup.
- Use vector software like Illustrator or CorelDRAW for your designs. Vector files (AI, EPS) scale perfectly, whether for small chest prints or full backs, and printers can work with them much more easily.
- Discuss technical minimums with your printer:
- Smallest readable font size (typically 8pt sans-serif)
- Minimum gap width for negative space (typically 1.5pt)
- Thinnest printable line (typically 0.5pt).
- Quantity requirements – setup costs
- Use halftones sparingly – subtle differences (like 45% vs 50% color) won’t be visible. Depending on the shop, even 70% vs 100% might look similar.
- Designs on dark t-shirts need an underbase (thin white layer) so colors show properly. This adds to the cost and affects how the shirt feels.
- If creating photo-realistic prints, work at 300 DPI in a 13″×15″ canvas, but keep your design within 12″×14″ (standard print size for most shops).
- Limit small details, especially negative space. Intricate patterns with pixel-level color transitions may print poorly as colors blend or disappear.
- When sending files to print, embed all non-native elements properly, convert major text to outlines, and copy-paste actual vector art rather than dragging files for vector files.
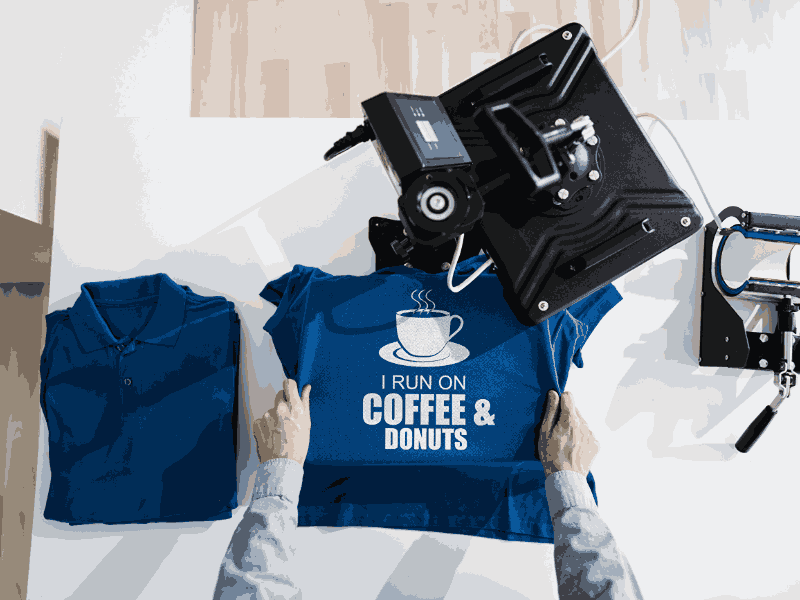
You need to discuss small details with your printer.
This Is The End Of The Article
With practice and the step-by-step guidance of how to use inkscape to design t shirt from Yes T-Shirt provided in this tutorial, you will have enough information to start designing eye-catching T-shirts, whether for personal projects, small businesses, or creative ventures.
FAQs
1. Do I need to pay for Inkscape to design T-shirts?
No, Inkscape is completely free and open-source software. You can download it at no cost and use all its professional-grade features to create high-quality T-shirt designs without any subscription fees or hidden charges.
2. What’s the best way to prepare my Inkscape design for printing?
First, turn all your text into paths (go to Path → Object to Path). Then, make sure your canvas size is right – usually around 4500×5400 pixels for standard t-shirts. And always double-check with your printer about their specific needs.
3. Can I import and edit my hand-drawn sketches in Inkscape?
Yes! Import your hand-drawn sketch using File → Import, then use Path → Trace Bitmap to convert it to a vector image that you can edit, colorize, and refine within Inkscape.

